There are many types of light installation way, including recessed, outfit, wall-mounted and trimless install, etc. Trimless installation is one of the fashionable ways of them. In the following, we will make a brief introduction of trimless light and show the installation detail of trimless light step by step.
What Is Trimless Light?
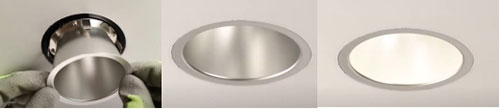
Trimless light is a plastered-in fitting, which rail and frame of lamp are hidden behind the fixture and painted over, leaving only the beauty of the light visible. The trimless recessed lighting is the designer’s and perfectionist’s choice of the minimalistic design, as well as who want to give the overall impression of seamlessness and quality.
The Advantage Of Trimless Light
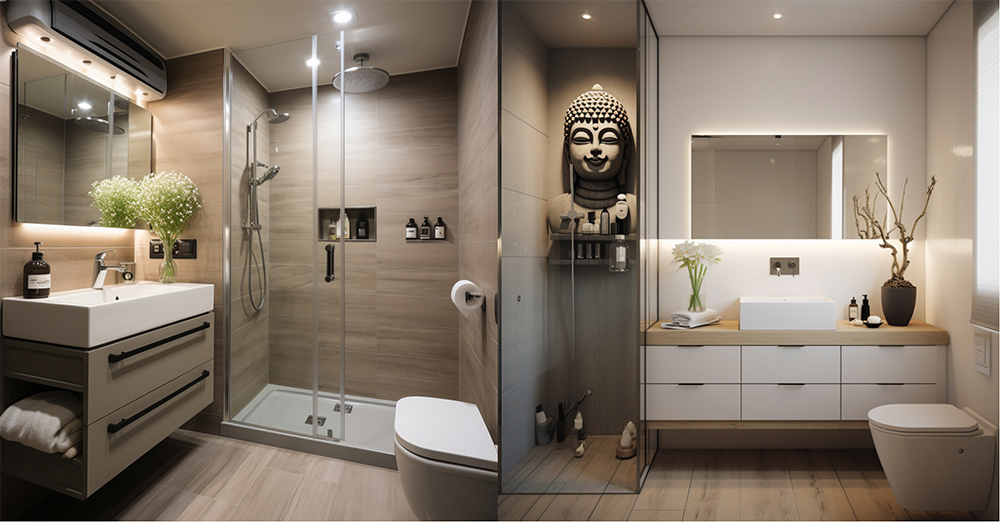
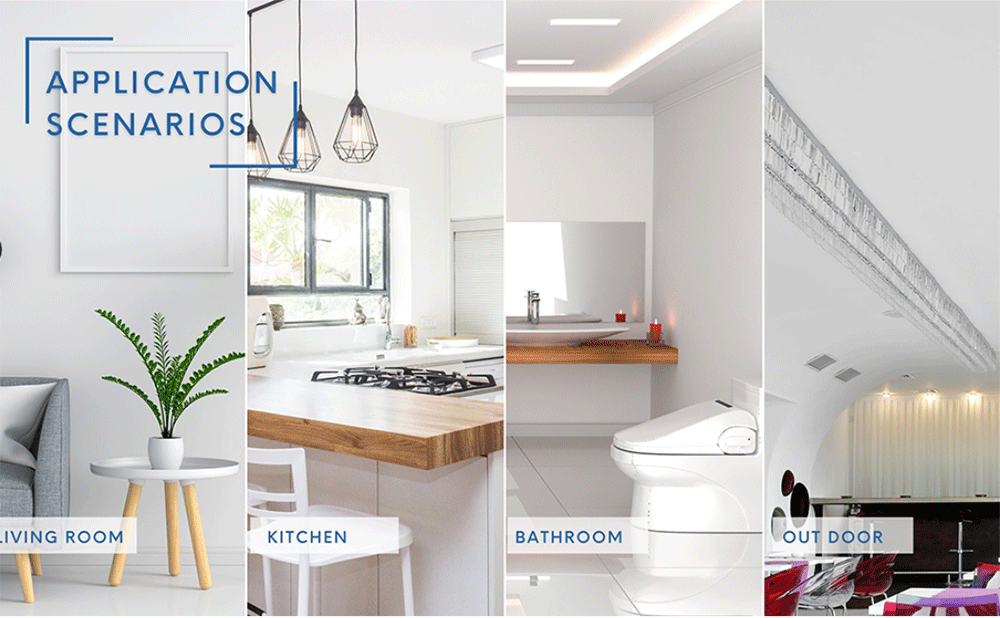
On the one hand, the trimless recessed light as a non-decorative design provides with us an impression of neater and seamless, as well as makes the installation look visually expands the space of the entire house. On the other hand, the trimless recessed light has the advantage of reducing the damage rate of the ceiling and is good for maintenance by removing the middle lamp body snap-in type for repair without destroying the embedded frame installation of the ceiling. Besides, the trimless lights is widely used in many application, such as living room, bedroom, kitchen, office, supermarket, coffee shop and yoga studio, etc. They usually present an elegant and beautiful, simple and generous warm lighting effect.
In addition, with the use of a smart lighting system, we can switch the lights, adjusting the brightness and color temperature of the trimless lighting fixtures. And we can also freely set the start and stop time of trimless recessed light to make our life more regular and efficient. With the use of remote control, we can dim the color temperature which we selected before install to create the space atmosphere. The trimless recessed light provides us with a perfect dim down setting, without flickering or issue we can select a very nice dim down setting for our light. Let us movie to the installation detail of trimless light below.
The Guidance Of Trimless Downlight Installation
Components may be required for installation mounting
- Mounting Frame
- Alignment Guide
- RN2 Housing
- Trimless reflector
- Mud frame
- Tapping screws
- Flanged plate
- Other tools that you need
Step
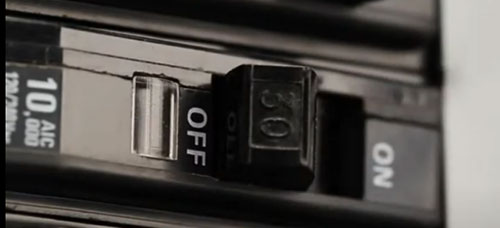
1. Turn off the power
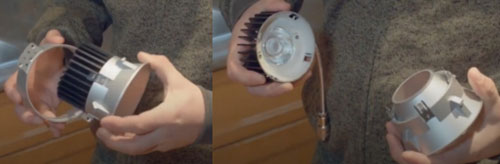
2. Remove The Trim For Installation & Reflector Easy To Remove If Needed
3. Installation With The Flanged Plate
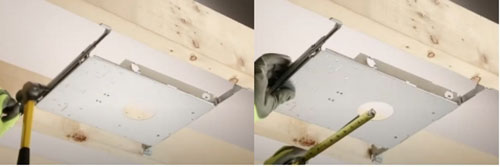
Mount the downlight housing flashed to the bottom of the ceiling joists. then securely nail the hanger bars to the joists, after that, slide the housing along the hanger bars for position and lock into place with the two fixing screws. The hangers should be level with the bottom of the joists
4. Install Dry Ceiling & Cutting The Hole
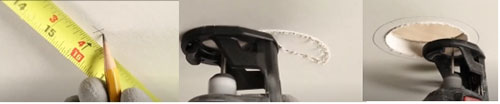
Noting the center location of each downline aperture before the drywall ceiling is installed. Cutting from the center to the inside edge of the aperture, then follow the edge to complete the cut.
5. Mounting The Trim On The Flanged Plate & Apply Mud

Fitting the mud frame into the hole properly. The alignment is important to a proper installation to help align the mud frame with the housing. Using the alignment guide provided some drywall mud can be placed under the mud frame to help hold it in place in for proper adhesion to the ceiling. Fasten the trim to the drywall and the metal plate over it with drywall or self-tapping screws. By the way, avoid hitting the driver.
After the mud frame-secured joint compound and paint can be applied, make sure the inner groove in the mud frame is clear from the excess joint compound in paint.
6. Connect The Fixture To The Driver

Using the cable connector pre-mounted on the driver box, after connecting, insert the housing though the aperture until it snaps firmly into the mud frame mount the driver and secure the cable in place.
7. Mount The Fixture &Lighting
Place the trim into the housing and press firmly until it is flush with the ceiling. After installation, restore power at the service box and turn the fixture on installation
UPSHINE PRODUCT THAT AVAILABLE FOR TRIMLESS INSTALLATION
Just take action to neat your home, make it more elegant!